
Setting Up Outlook Express
When first starting outlook express, a setup wizard will appear.
The wizard walks you through step by step in the setup process.
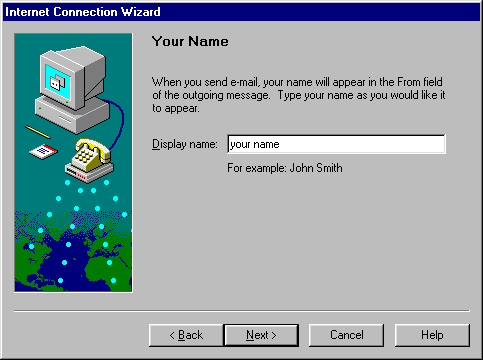 |
Outlook asks for
your "Real Name". You can put your full name, initials, nickname, or whatever you want. The real name, is what preceedes your email address, and is the first thing people receiving your email see. |
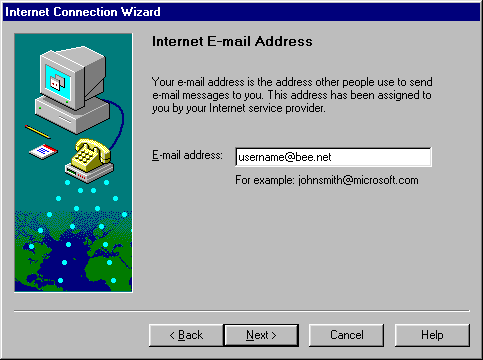 |
Type your "E-mail address". |
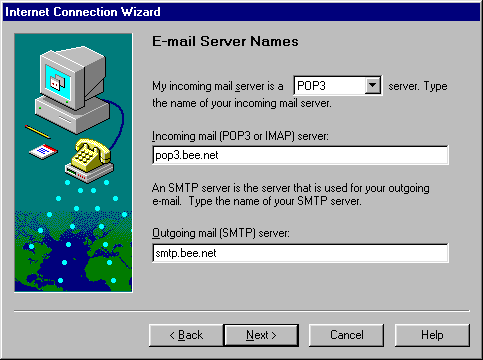 |
Chose a "POP3" server for your
incoming email.
The "Incoming POP3
server" is: Your outgoing "SMTP" email
setting will be: |
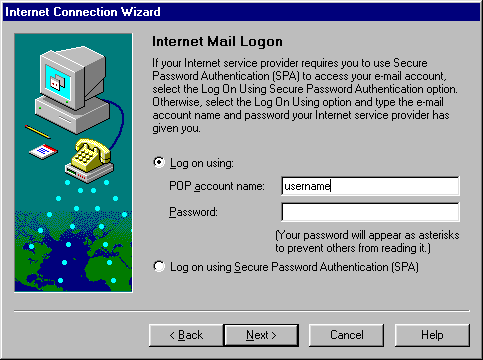 |
Next Outlook will display your username automatically. In the area labeled "Password" , type in your password. You are not required to put the password in now. However, if you choose not to, you will be asked every time Outlook checks mail as to what the correct password for your account is. You do not need secure password authentication.
|
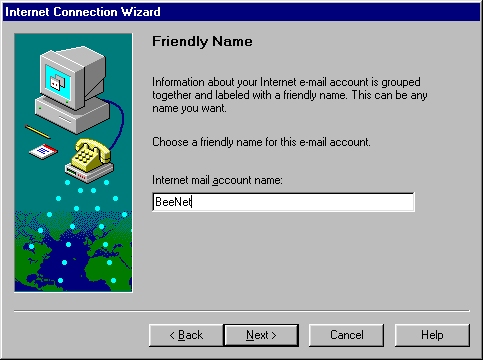 |
Name your account.
This is in case Outlook has have multiple email accounts. If so, this name distinguishes your email account from someone else using Outlook on the same computer. |
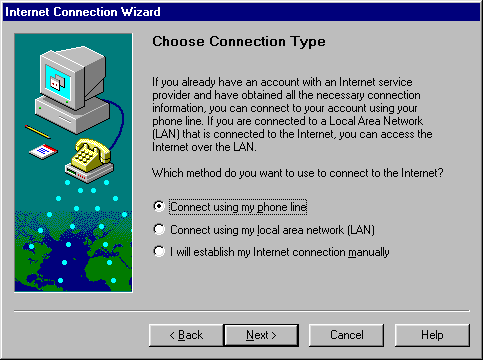 |
Once you have completed
setting up the email portion of Outlook Express, you will need to pick
a connection type.
If you are on a Local Area Network (LAN) you will choose "Connect using my LAN." If you connect with your modem you will choose "Connect using my phone line." If you use Internet
Explorer, Netscape, or Dial-Up Networking to connect, you will choose "Connect using a third party dialer."
|
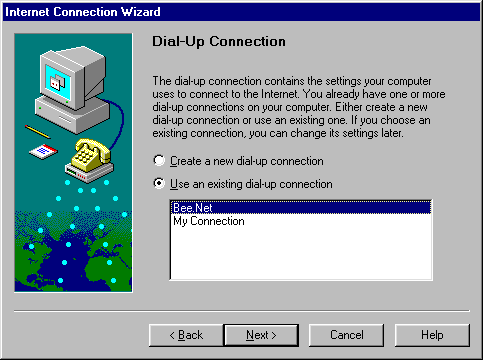 |
After you decide how you
are going to connect, you can choose to use an existing connection.
If you do not have an existing connection or would like to set up a different phone number to dial, click in "Create a new dial-up connection." |
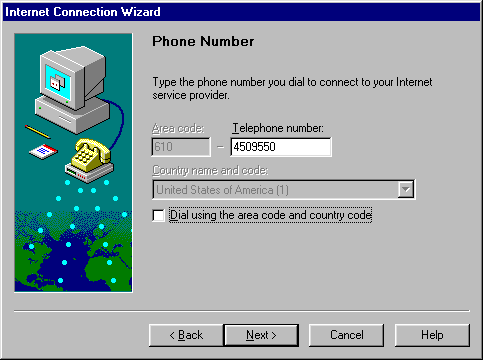 |
Now you need to enter in the number for BeeNet that is local to you. If you do not know the number click here or call us at Technical Support. |
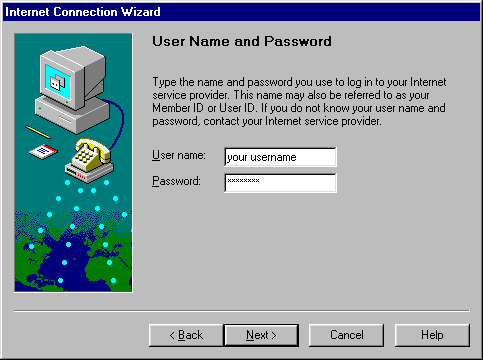 |
Next type in
your "Username"
and "Password" for BeeNet. |
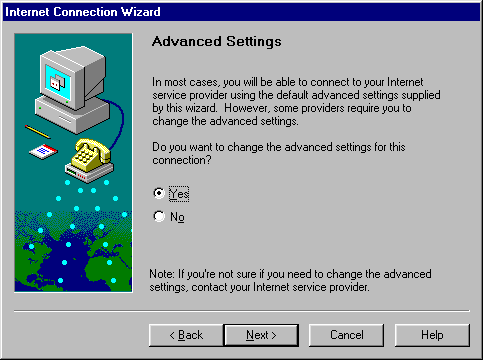 |
You will need to check the advanced settings if you dial in to ISP's other than BeeNet. If you only use BeeNet on your computer, you do NOT need to go through the advanced settings. Click Here to proceed. |
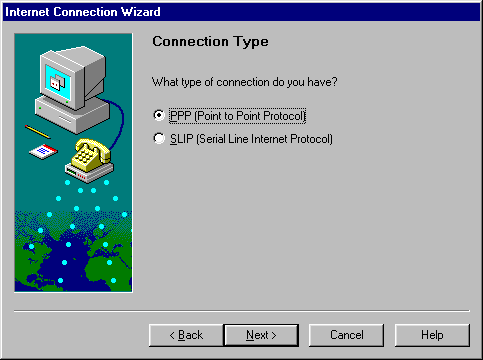 |
The "Connection Type" should be set to "PPP" |
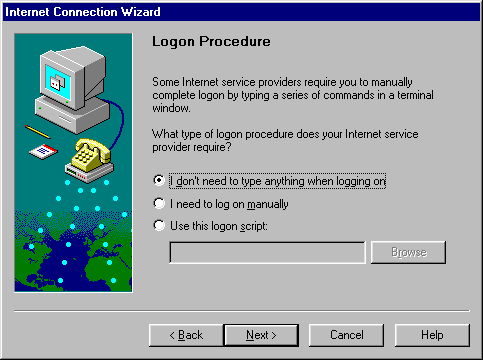 |
Unless you are using
a script or post dial terminal screen, |
|
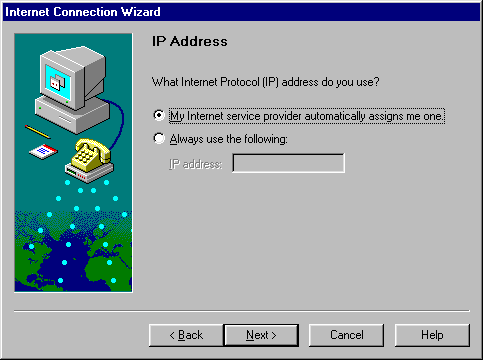
In the next box "IPAddresses"
choose "My Internet Service Provider automatically assigns me one." |
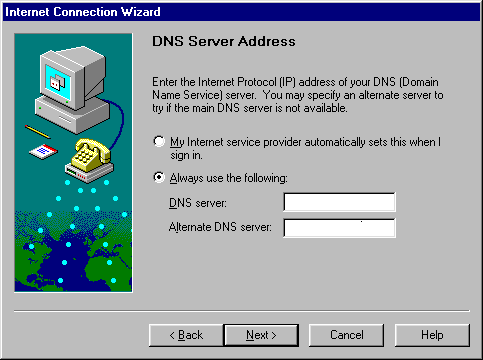 |
For your DNS server
address, you want to make sure you have
BeeNet's DNS numbers. You will ONLY
need to put these in if you have accounts with other ISP's or online
services. If you use BeeNet exclusively, you do not need to use any DNS
numbers. For customers who need our DNS numbers, they are: Primary DNS: 63.74.90.21
|
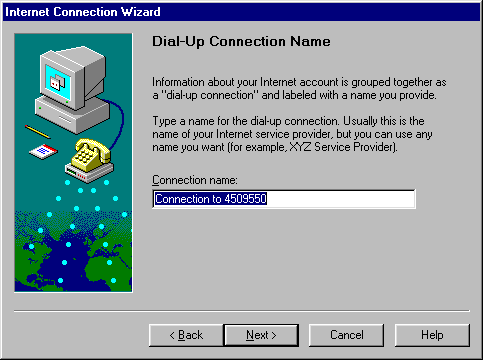 |
Lastly, is the name for
the connection you are dialing. You can leave it as the default, or change it to something else. |
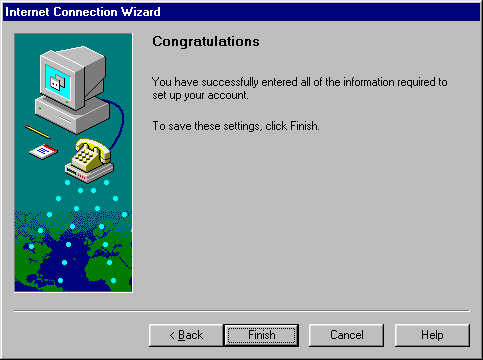 |
Click on the "Finish" button. |
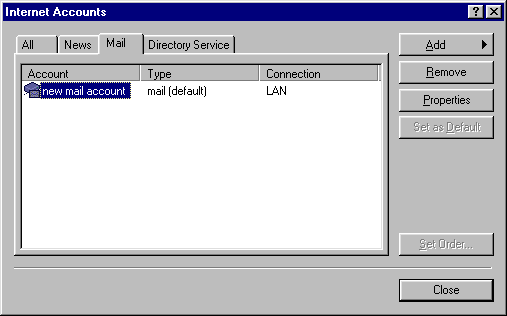 |
If you do not get the setup wizard or want to additional accounts to Outlook Express, you need to open Outlook Express: Click on "Tools" Click on "Accounts" Click on the "Mail" tab. Once
you have done that, you can either highlight the account that is in
there and click the properties button. |
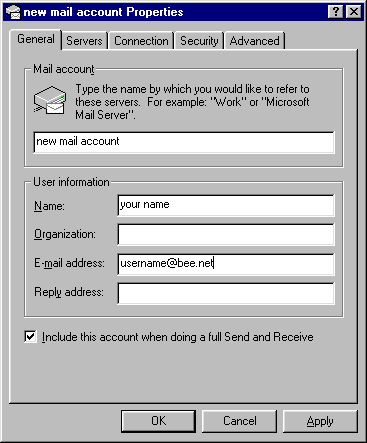 |
Click the "General" tab.
Type the "Name" of your account in Outlook Express. Enter your name or your company name in the "Name" field. Type your "E-mail address": [email protected] |
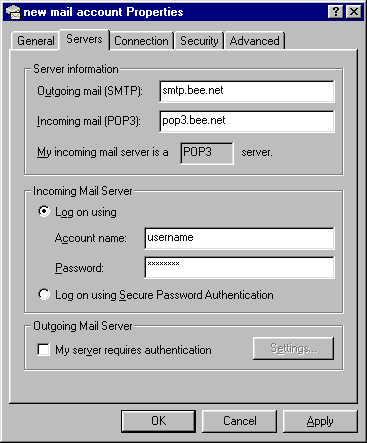 |
Click on the
"Servers" tab.
The incoming mail server is
a POP3 server. pop3.bee.net The Outgoing mail server is: smtp.bee.net |
 |
If you want to configure
Outlook to dial when you open it, choose "Connectusingmyphoneline." If you are on a LAN choose "ConnectusingmyLAN." If you use Dial-Up Networking, Internet Explorer, or Netscape to connect choose "ConnectusingInternet Explorer's or a third party dialer." |
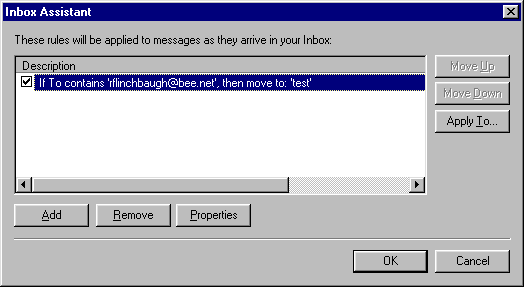 |
In order to set up separate folders for multiple users on Outlook Express, click on "Tools", select "InboxAssistant." Click on the "Add" button to configure and add different folders. |
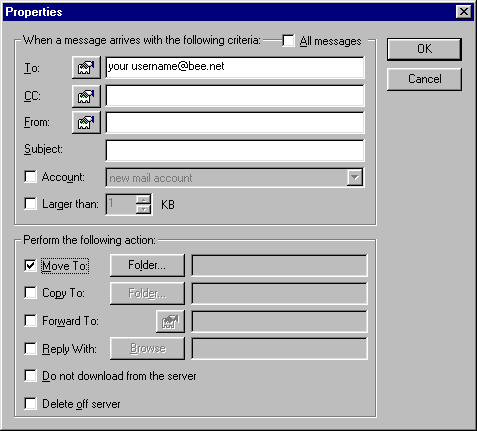 |
To customize your own
folder, make sure the "To:" field has your [email protected] Next you want to create a
folder to send your messages. Check the "Move to" selection and click the "Folder" button. |
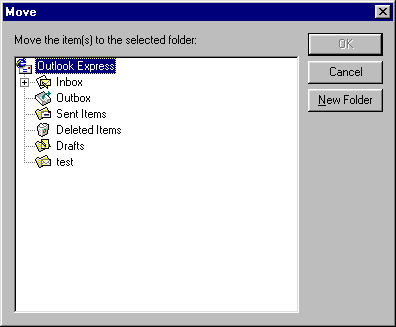 |
A window called "Move" will appear. Click the "NewFolder" button. |
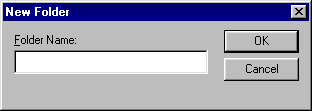 |
A "NewFolder" window
will appear. Type the name of the folder for your e-mail messages. Click "Ok", until you are back to your Inbox. All mail for the email address you specified should now be placed in the folder you created. If it is not visible, it may be a subfolder of your Inbox.
|